
Account Management
Accounts are the foundation of PromethistAI. They represent your organization within the platform and define the boundaries for billing, member access, and project ownership.
Think of the structure as:
-
Accounts – top-level container. Owns billing, members, and projects.
-
Projects – workspaces that hold agents, assets, and integrations.
-
Agents – the relational experiences delivered to end-users.
This hierarchy ensures that every agent is tied to a project, every project belongs to an account, and billing is consolidated at the account level.
Creating an Account
If you are the first person from your organization to log in:
-
You’ll be prompted to create a new account.
-
Provide:
-
Account name – usually your organization’s name.
-
Billing email – the address where invoices and usage alerts will be sent.
-
Additional required information (contact details, region, etc.).
-
Once set up, this account becomes your primary organizational container, and you can begin adding projects and inviting team members.
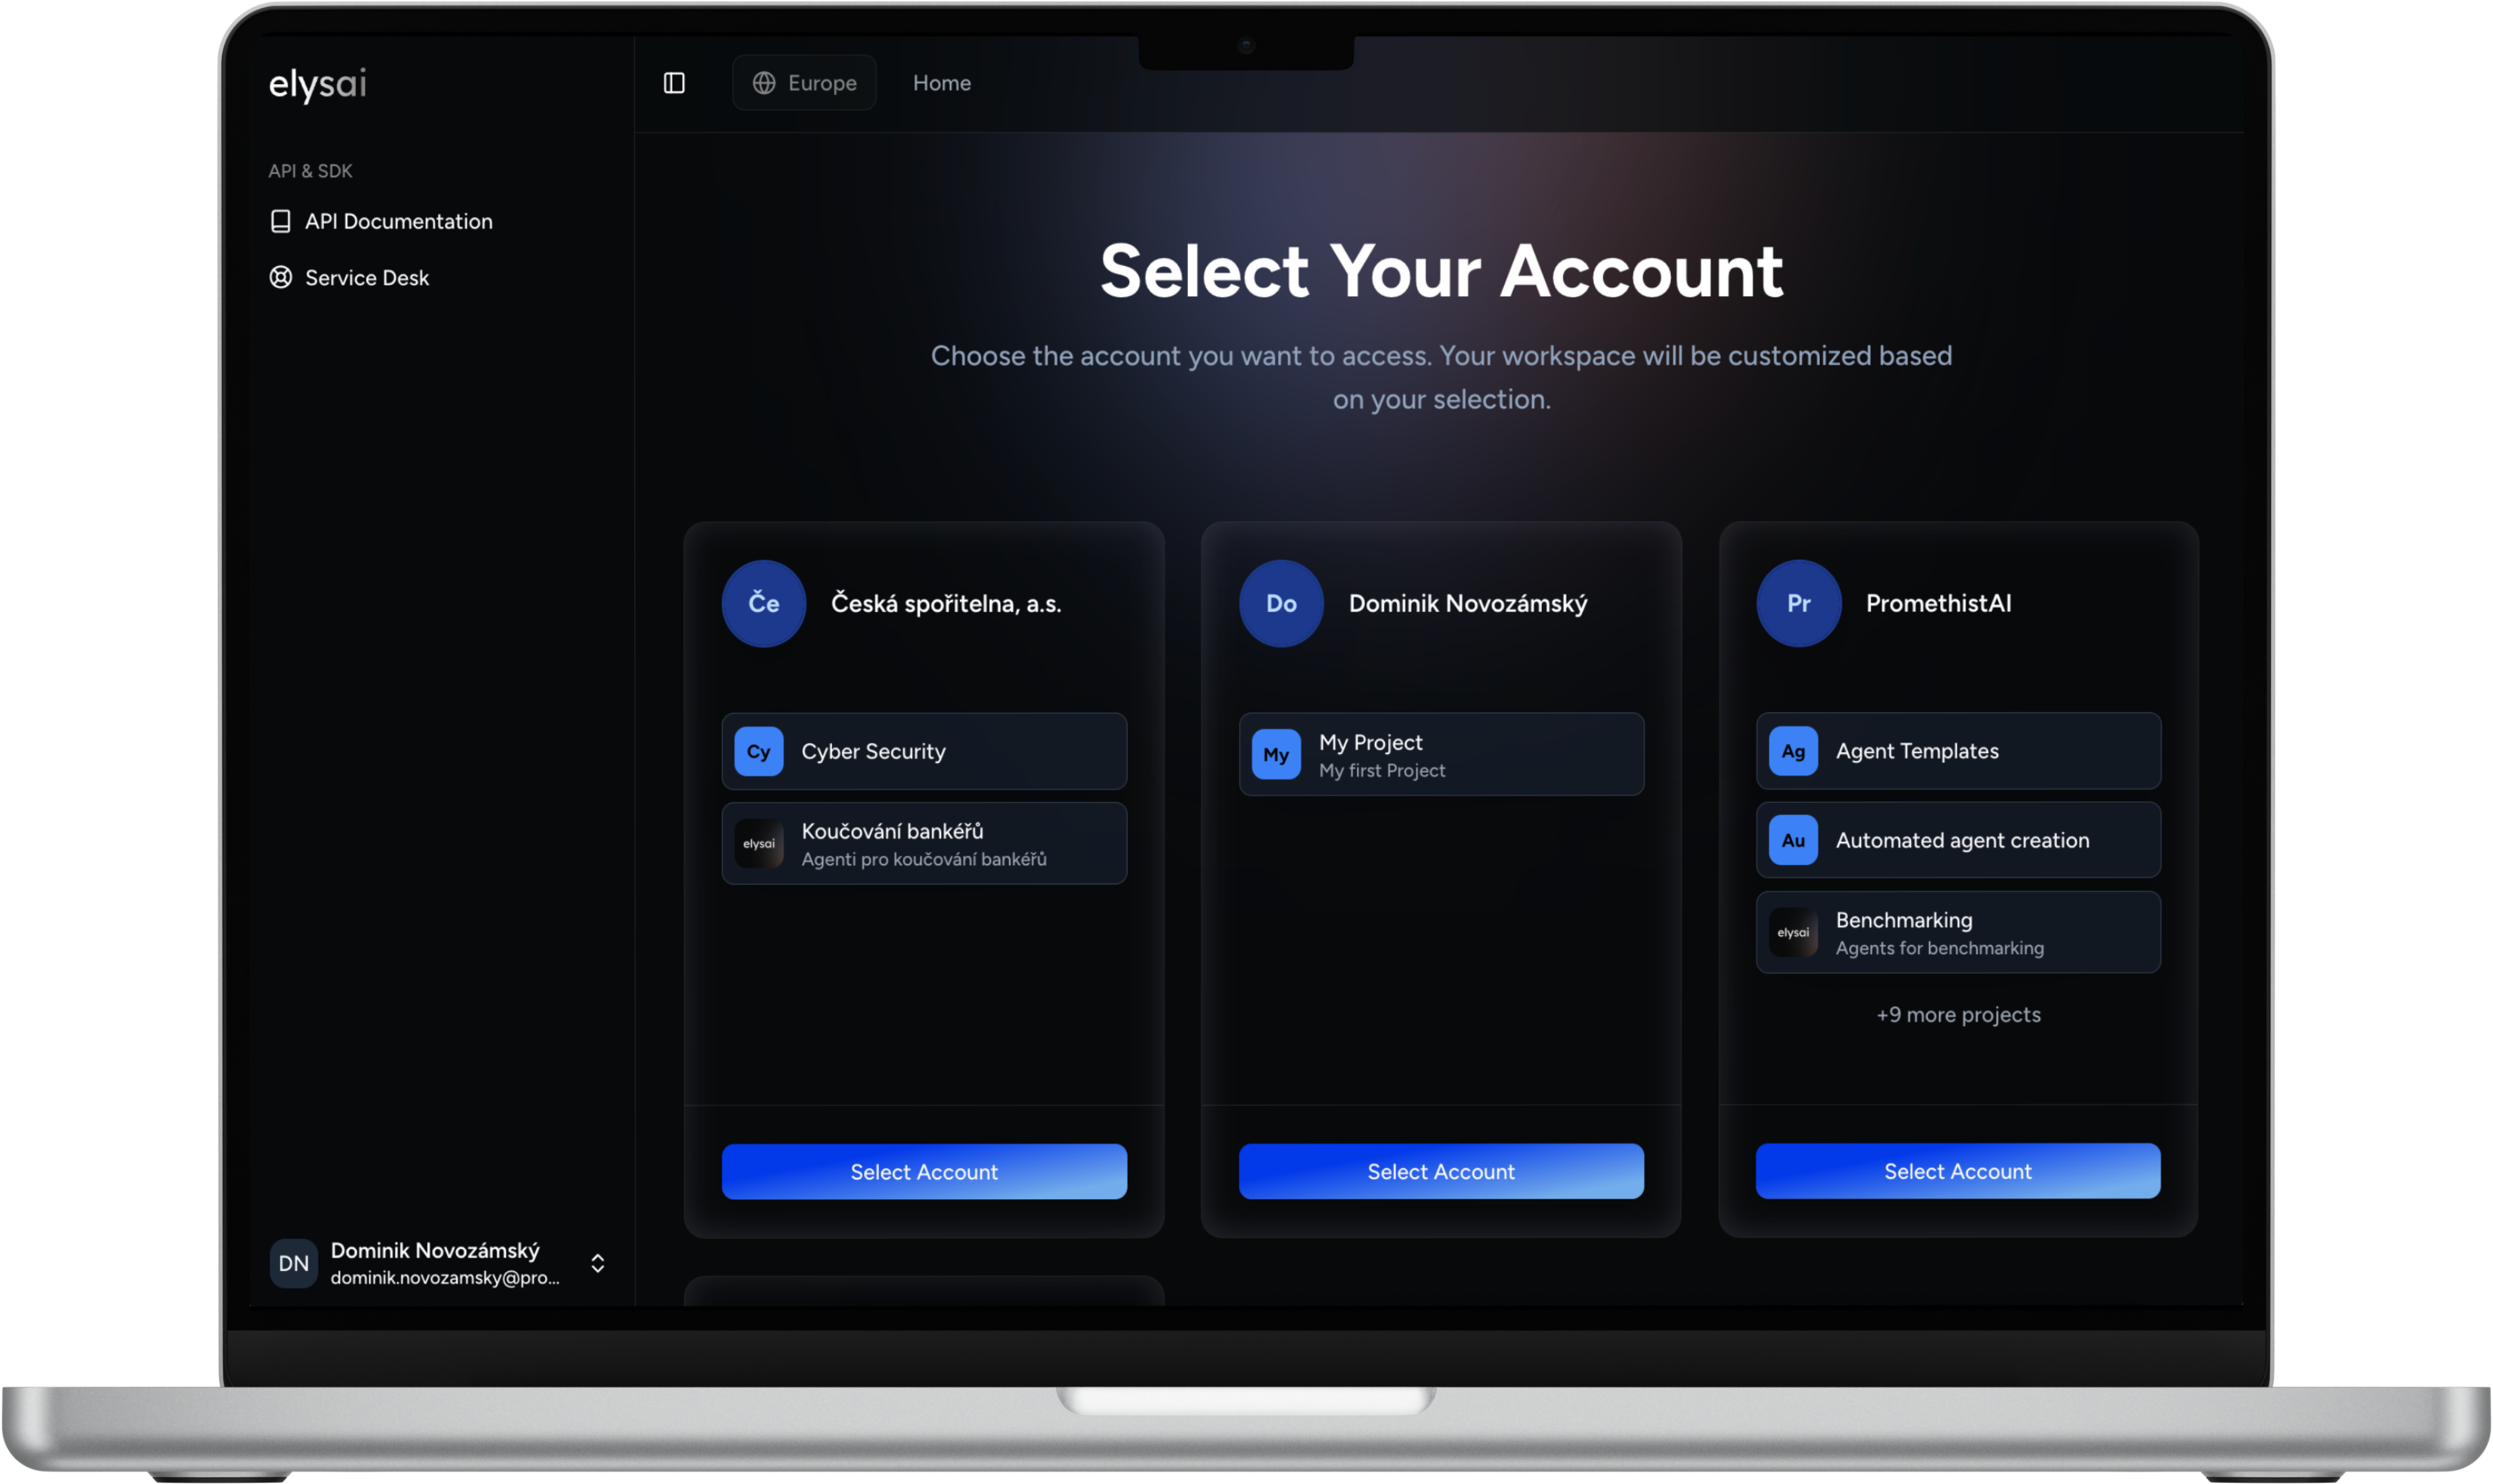
Accessing Accounts
It’s common for consultants, agencies, or enterprises with multiple divisions to have access to more than one account.
-
Use the Account Switcher in the administration console to move between accounts.
-
The switcher shows all accounts you belong to and your role in each.
-
Your role determines what you can see and do in that account (see Roles & Permissions.)
Example: A design consultant may be an Owner in their agency’s account, but only a Viewer in a client’s account.
Account Settings
Account Settings is where account-level options are managed. Settings apply across the whole account, so they affect every project under it. Use Save Changes to apply your edits.
Account Name |
The display name of your account, usually your organization’s name. |
Account Logo |
The image shown for your account. Click to upload or drag and drop an image ( |
Live Avatar API Key |
The account-level API key used for LiveAvatar stream rendering. Paste the key from your Live Avatar (HeyGen) account here to enable the LiveAvatar stream option in Avatar Source. This key applies to every project under the account, but a project-level key takes precedence where one is set. |
Display full conversation data
Account Owners see a Display full conversation data toggle in Account Settings. It controls who can see Conversations in the Analytics Suite across every project under the account.
• |
The toggle is enabled by default. |
• |
When enabled, anyone with access can see the Conversations in the Analytics Suite of any project under the account. |
• |
When disabled, no one can see the Conversations. |
Selecting Platform Region (US/EU)
You can choose which backend cluster the administration console connects to. Use the region switcher in the top navigation (globe icon) to toggle between EU and US.
How to switch
-
Click the globe pill in the top bar (e.g., EU).
-
Choose US or EU from the popover.
-
The console reloads to that region’s workspace and shows the content stored there.
• |
The platform region defines where your console resources live (projects, agents, knowledge bases, assets, analytics). Switching regions does not move data; it only changes which region you’re viewing. |
• |
Your selection is remembered for your next visit (per browser). |